A batch made in heaven for your valentine

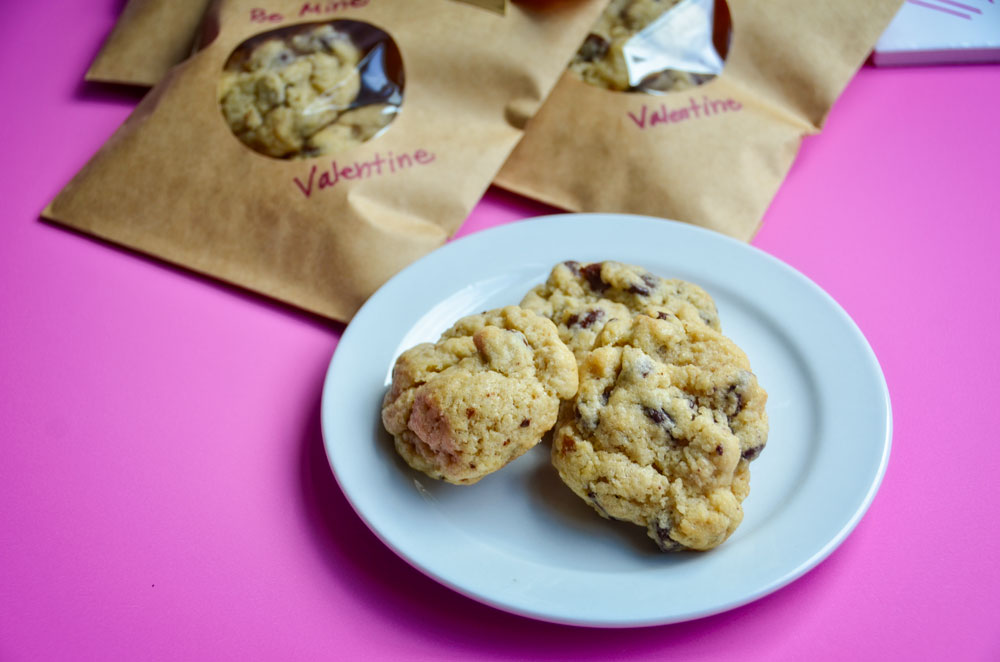
There are few things in life better than a great chocolate chip cookie. At the risk of sounding melodramatic, I think that baking a truly stellar cookie for someone is an excellent way to communicate feelings that transcend words. Of all the gifts I might get from a valentine, a fresh, gooey chocolate chipper with just the right ratio of chocolate to cookie says “I love you” in all the right ways.
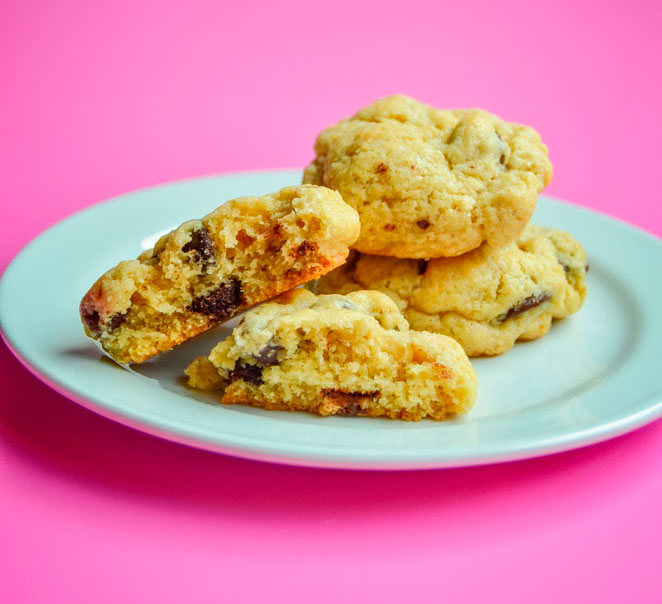
Chocolate chip cookies are the simplest dessert in the world, with just a handful of readily available ingredients. It’s mystifying, then, why it can be so difficult to get cookies that bake up without either spreading themselves too thin or baking up thick and dry. I’ve tried a multitude of methods: melting the butter or not, chilling the dough or not, adding “secret” ingredients like pudding mix or corn starch. Add in the unpredictability of baking at altitude, and sometimes instead of a chocolaty treat, I get a disappointing mess on a baking tray.
I am, however, not a quitter, particularly when sweet treats are involved. In my ongoing quest for the perfect chocolate chip cookie, I stumbled upon a novel cookie baking method called “reverse creaming.” This method calls for the butter and other ingredients to be added in a different order than usual, which dramatically alters the chemistry of the final product. I’m not much of a food scientist, but this method results in butter that gets directly coated in flour, which produces a cookie that reliably bakes up pleasingly plump and tender.
Making these cookies is reminiscent of making scones or even pie crust, since it uses cold butter right from the fridge, which not only results in a somewhat flaky texture, but is also convenient because I don’t have to remember to set the butter out. I generally don’t love recipes that call for lots of special equipment, but in this case, there are a few tools that make this work. A stand mixer works best here, since it has the strength to mix the cold butter thoroughly with the rest of the ingredients. The dough is pretty stiff, so a cookie scoop is helpful too—use the size you like best, as these cookies work well whether you make them bite-sized or salad-plate sized. The dough must rest for a while in the freezer, but I promise the end product is worth the wait. Additionally, this step means these cookies are a perfect, make-ahead treat because the dough can be frozen for up to a month.
These cookies are a deliciously simple goodie that can be relied upon to bake up just right every time. Bake them for yourself or give them as a gift for a perfect valentine that everyone will love.
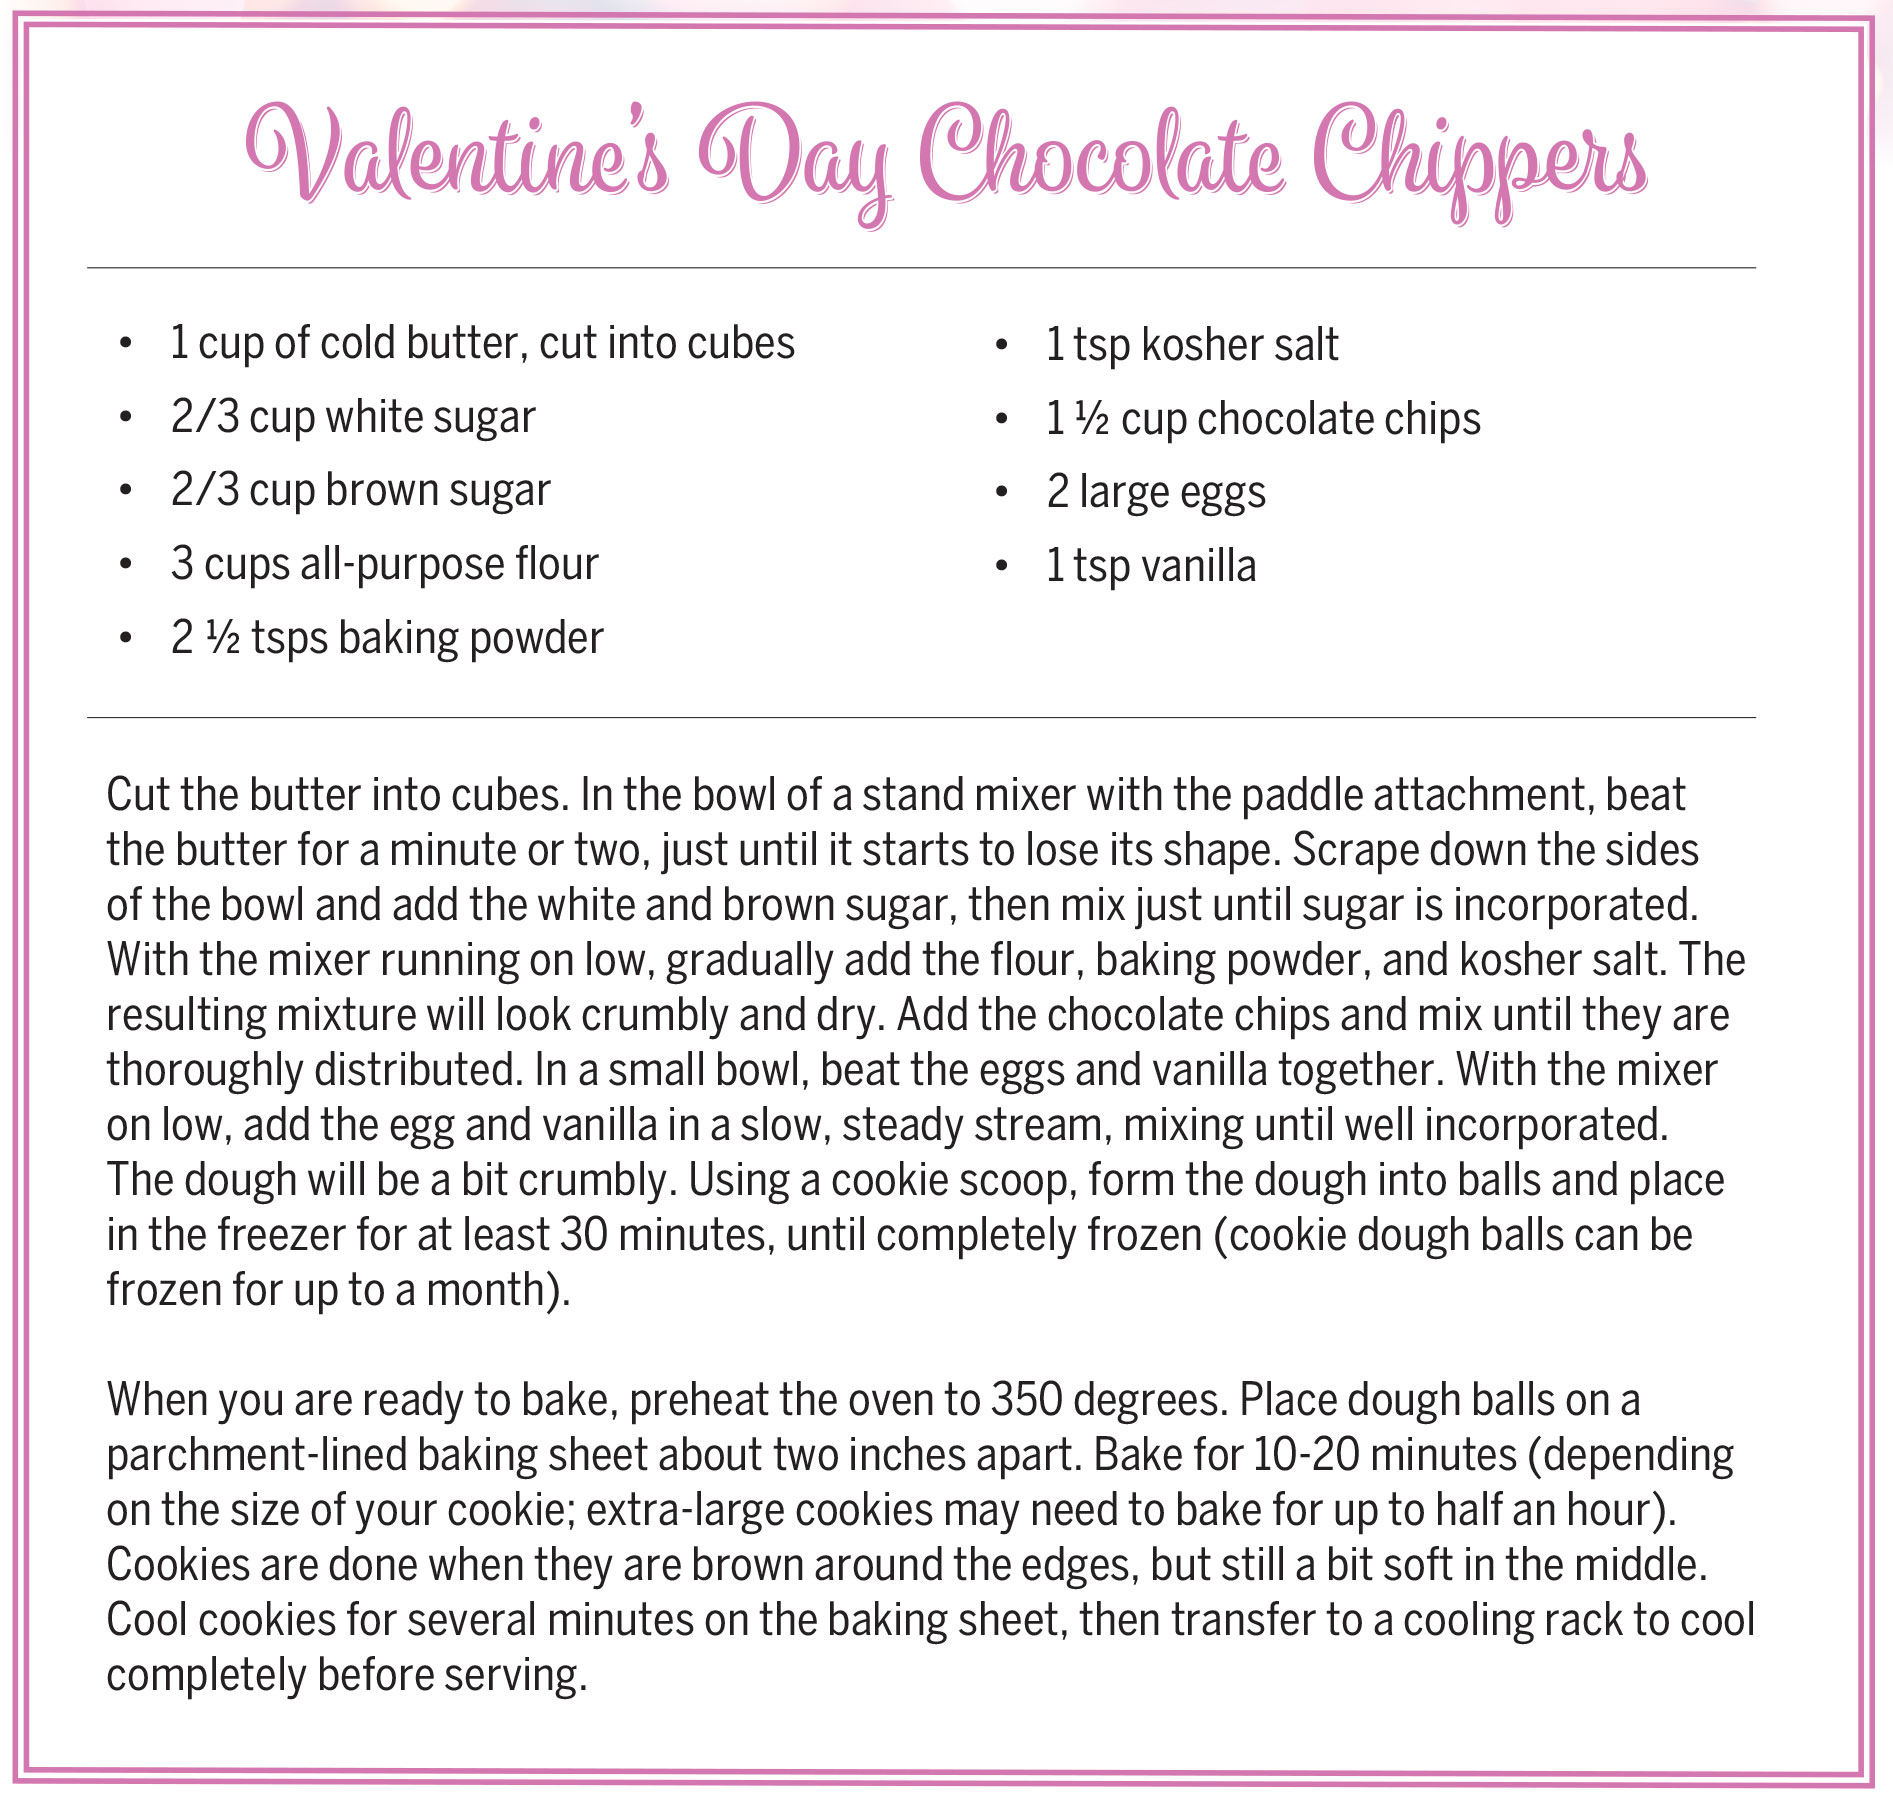
Valentine’s Day Chocolate Chippers
- 1 cup of cold butter, cut into cubes
- 2/3 cup white sugar
- 2/3 cup brown sugar
- 3 cups all-purpose flour
- 2 ½ tsps baking powder
- 1 tsp kosher salt
- 1 ½ cup chocolate chips
- 2 large eggs
- 1 tsp vanilla
Cut the butter into cubes. In the bowl of a stand mixer with the paddle attachment, beat the butter for a minute or two, just until it starts to lose its shape. Scrape down the sides of the bowl and add the white and brown sugar, then mix just until sugar is incorporated. With the mixer running on low, gradually add the flour, baking powder, and kosher salt. The resulting mixture will look crumbly and dry. Add the chocolate chips and mix until they are thoroughly distributed. In a small bowl, beat the eggs and vanilla together. With the mixer on low, add the egg and vanilla in a slow, steady stream, mixing until well incorporated. The dough will be a bit crumbly. Using a cookie scoop, form the dough into balls and place in the freezer for at least 30 minutes, until completely frozen (cookie dough balls can be frozen for up to a month).
When you are ready to bake, preheat the oven to 350 degrees. Place dough balls on a parchment-lined baking sheet about two inches apart. Bake for 10-20 minutes (depending on the size of your cookie; extra-large cookies may need to bake for up to half an hour). Cookies are done when they are brown around the edges, but still a bit soft in the middle. Cool cookies for several minutes on the baking sheet, then transfer to a cooling rack to cool completely before serving.
Article and photos by Lisa Crockett