Clean it up: put your grill to bed for the season
![]()
Article and photos by Lisa Crockett
Grill season is winding down. With cooler temperatures and shorter days, cooking tends to move back inside the house. After a summer of burgers, steaks and hot dogs, it’s likely your grill is buried in a heap of carbon that won’t benefit the flavor of your food, and may actually diminish the efficiency of your unit when you fire it up again next spring.
Know this: cleaning the grill is messy, arduous and time-consuming, and some of the tools you use (especially the towels) are likely to never be the same again, so use cleaning equipment you don’t mind getting dirty or even getting rid of. While none of this is likely to sound appealing or fun, it’s a great way to lengthen the life of your grill and keep it performing with peak efficiency for years to come. When you’re done with the process, you’re likely to be dirty and tired, but a sparkling grill is a thing of beauty, so roll up your sleeves and get to work. You’ll thank yourself next year.
Before you start, take a look at your grill owner’s manual for any special instructions. Here’s a basic method to get that grill in tip-top shape: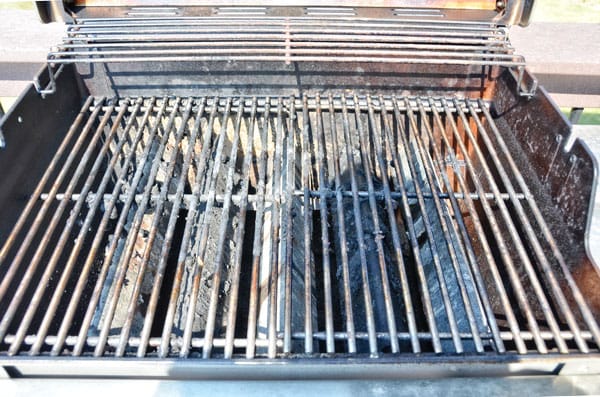
Step 1: Turn on all burners to high, close the cover of your grill, and run it for about 15 minutes. This will turn any lingering residue into ash, making it easier to remove.
Step 2: Turn burners off, and turn off the propane or gas line.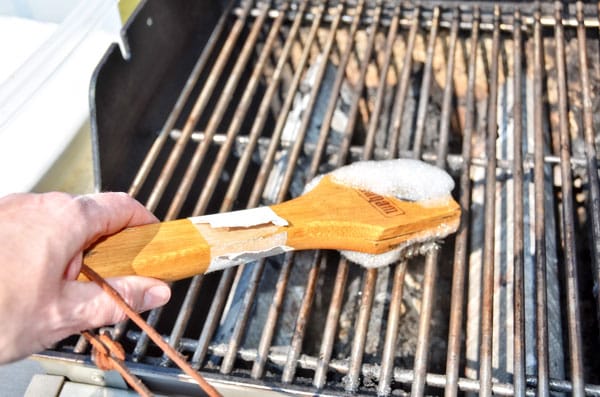
Step 3: Using a stiff wire grill-cleaning brush dipped in soapy water, scrub the grate of the grill. (Take care not to burn yourself, everything is still piping hot!) If the underside of your grate is soiled (which is likely), use silicone hot pads and carefully turn it over, then scrub the underside until clean. Carefully wipe the grate clean with a damp towel, then remove grate and set aside.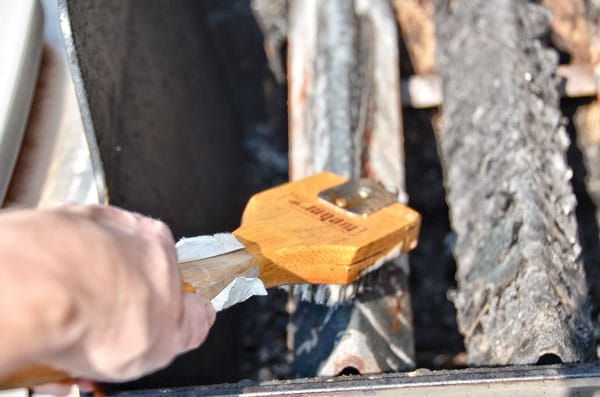
Step 4: Scrub heat deflectors (the triangle-shaped “bars” under the grate) with a stiff brush and soapy water. When they’re cool enough to handle, wipe them dry with a clean cloth.
Step 5: Remove the burners carefully, by unscrewing them from the base of the grill. Clean using a stiff brush, scrubbing cross-wise, then rinse to remove any clogging debris. 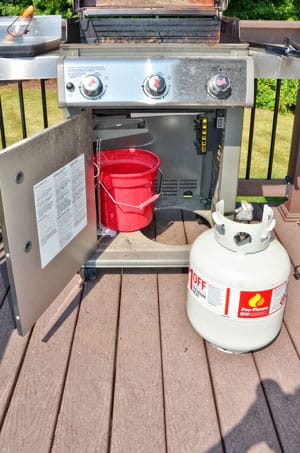
Step 6: Pull the propane tank out of the cabinet under the grill, and place a bucket in the cabinet. Scrub the bottom of the “cook box,” (the bottom floor of the grill), and then rinse with a hose, draining debris and dirty water into the bucket. Wipe clean with a damp cloth.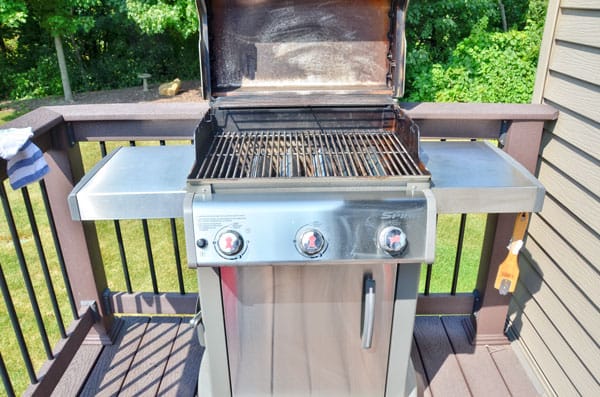
Step 7: Re-assemble the grill, wipe out the interior of the lid, then wipe down the exterior of the grill with a damp cloth. 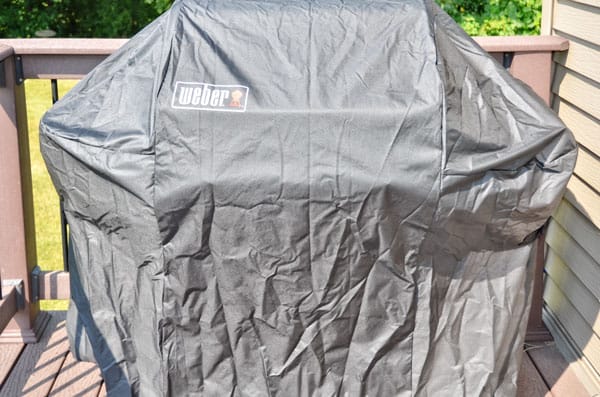
Step 8: Cover the grill to protect it until next season.