Can it: tips and tricks for home canning
Article and photos by Lisa Crockett
Home canning is a throwback to a time when more of us grew our own food and prepared for a season (like winter) when produce might be hard to come by. Like many things from yesteryear, canning is labor intensive and fraught with the possibility of failure. Still, home canning is worth the time and effort, even if you have a few failures along the way. It’s a fantastic way to preserve food that’s tasty, and if you can get your produce at a bargain price (which often happens this time of year when harvest season is at its height), it’s also a budget-friendly way to stock the pantry.
If you’ve never canned food before, it’s best to get some hands-on instruction from someone who knows the ropes. If you don’t happen to know someone who can teach you, YouTube is also a wonderful way to figure out how to preserve food at home. Food safety is a real concern when canning at home, so take care to always use a recipe from a reputable source (the Colorado State Extension office is one such source; visit their website at extension.colostate.edu), and then follow the recipe’s specifications exactly. Resist the temptation to alter the recipes at all – don’t toss that extra half cup of fruit puree because it will otherwise go to waste, or skimp on the salt because you forgot to pick up a new package at the store. Amounts listed in recipes are formulated to ensure certain acidity levels (for food safety) and also to keep food tasting its best.
Here are a few things to keep in mind:
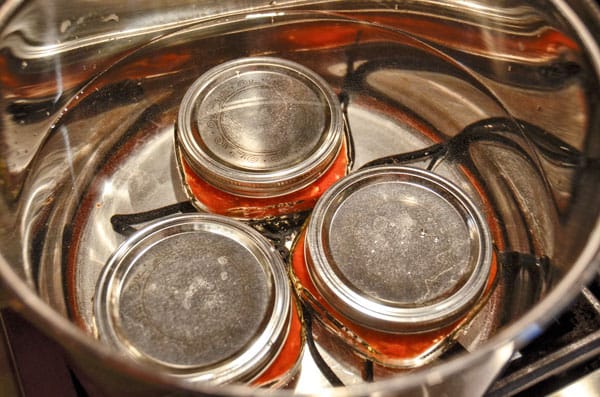
– Water bath canning (canning in a large container of boiling water) is suitable for most fruits, as well as tomatoes and pickles.
– Because vegetables have lower acid content than fruit, they must be canned in a pressure canner.
– Use fruit that is ripe and in good shape – don’t can overripe or underripe fruit.
– Use jars meant for canning (don’t recycle that old mayonnaise jar) and always use fresh lids to ensure a good seal.
– Always wash produce gently and thoroughly before preparing it for canning.
– Canning is hot work – jars, lids, bands and the produce being canned should all be hot when you use them. This approach ensures the most germ-free environment possible. Jars can be sterilized by placing them in boiling water before the canning process begins or by running them through a very hot cycle in the dishwasher (if you use the dishwasher, it’s best to wash only canning supplies to avoid debris from regular dishes getting stuck in your jars.)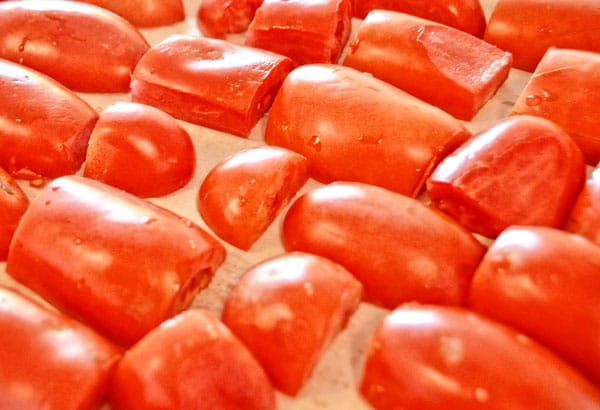
– Always check the seals on your canned goods the day after they’re canned. Lids should be slightly concave, and they should not move when pressed. If you have a jar that doesn’t seal, pop it in the fridge, and use it up right away.
A– s a general rule, home-canned goods should be consumed within a year after they have been canned. Use a permanent marker to write the date of canning on the lid.
– Castle Pines sits well above 6,000 feet in altitude. Always pay attention to high-altitude directions for canning processing times, as altitude increases them.
– If you’ve followed the directions of your recipe, tested your seals and stored your canned goods in a cool, dry place, odds are very good that they’ll be tasty and delicious when you open them up. Still, always visually inspect canned goods and smell them before you eat them. If they look or smell spoiled, toss them out.