Easy as pie
One of the things I love about November is that it is filled with nostalgia. I love the chilly temperatures, the seasonal decorations, the falling leaves and the gatherings of friends and loved ones. Longtime readers of this column will also know I have an ongoing love-hate relationship with pie. Yes, pie. I love to eat pie, nearly any kind of pie, at any time of year. November, though, is when pie is truly the star of the show, and I never tire of it. Apple, pumpkin and pecan pie. Yes, yes and yes.
That’s where the hate comes in. Pie is, in my opinion, kind of hard to make. Decades ago, I became convinced that a Cuisinart food processor would help me solve my pie problem. I was thrilled to open said food processor one Christmas morning in the late 1990s and set to work making what I was sure would be an award-winning pie. I followed the directions in my favorite cookbook to the letter and got a little advice from my mom (who is an expert pie crust maker). The end result was a pie that was, well … fine. The crust was a little dense and a bit too thick in places, but not bad. I figured I would practice and get better the way I had when I learned to bake bread, which took me several tries to get right, too.
What I forgot was that while my lifestyle includes bread at least several times a week, pie is reserved for special occasions. This means there are only a few times a year I can practice my pie skills. It is a vicious cycle. Every year, I make a pie that lets me down in one way or another, only to move on with my life until the next pie-centric holiday and then I find myself in the kitchen doing my best to add exactly the right amount of ice-cold water to butter-coated flour in precise proportions. I’m traumatized by the number of times I’ve mixed up a dough that was either too wet or too dry, both with disappointing results.
I know what you’re thinking. Pre-made pie dough is cheap, readily available, and easy to use. You’re not wrong, but it also doesn’t taste great and offends my DIY sensibilities, so here we are.
A few years ago, I stumbled upon a recipe and a method for making pie dough in a regular stand mixer, a recipe I shared in this column. That approach gives me good results but still stresses me out just a bit on a day when I am already overwhelmed with producing turkey and all the trimmings. There is no getting around the fact that making pie is work, but when I saw the recipe I’m sharing here, I was intrigued.
This kind of pastry works more like a cracker-crumb crust than a traditional rolled pastry; the usual pie crust ingredients are quickly mixed and then pressed into a prepared pan. While I will still need my traditional recipe for double crust pies (like apple or cherry) this crust works well for a single-crust pie like pumpkin or custard. This recipe is faster than a regular crust and requires just a few minutes of chill time, so in November when I need to make every kind of pie there is, this recipe is a life saver. I had to practice this one a bit, and if you’re new to making pie, I recommend a trial run, but this is the closest to fool-proof of any recipe I’ve found.
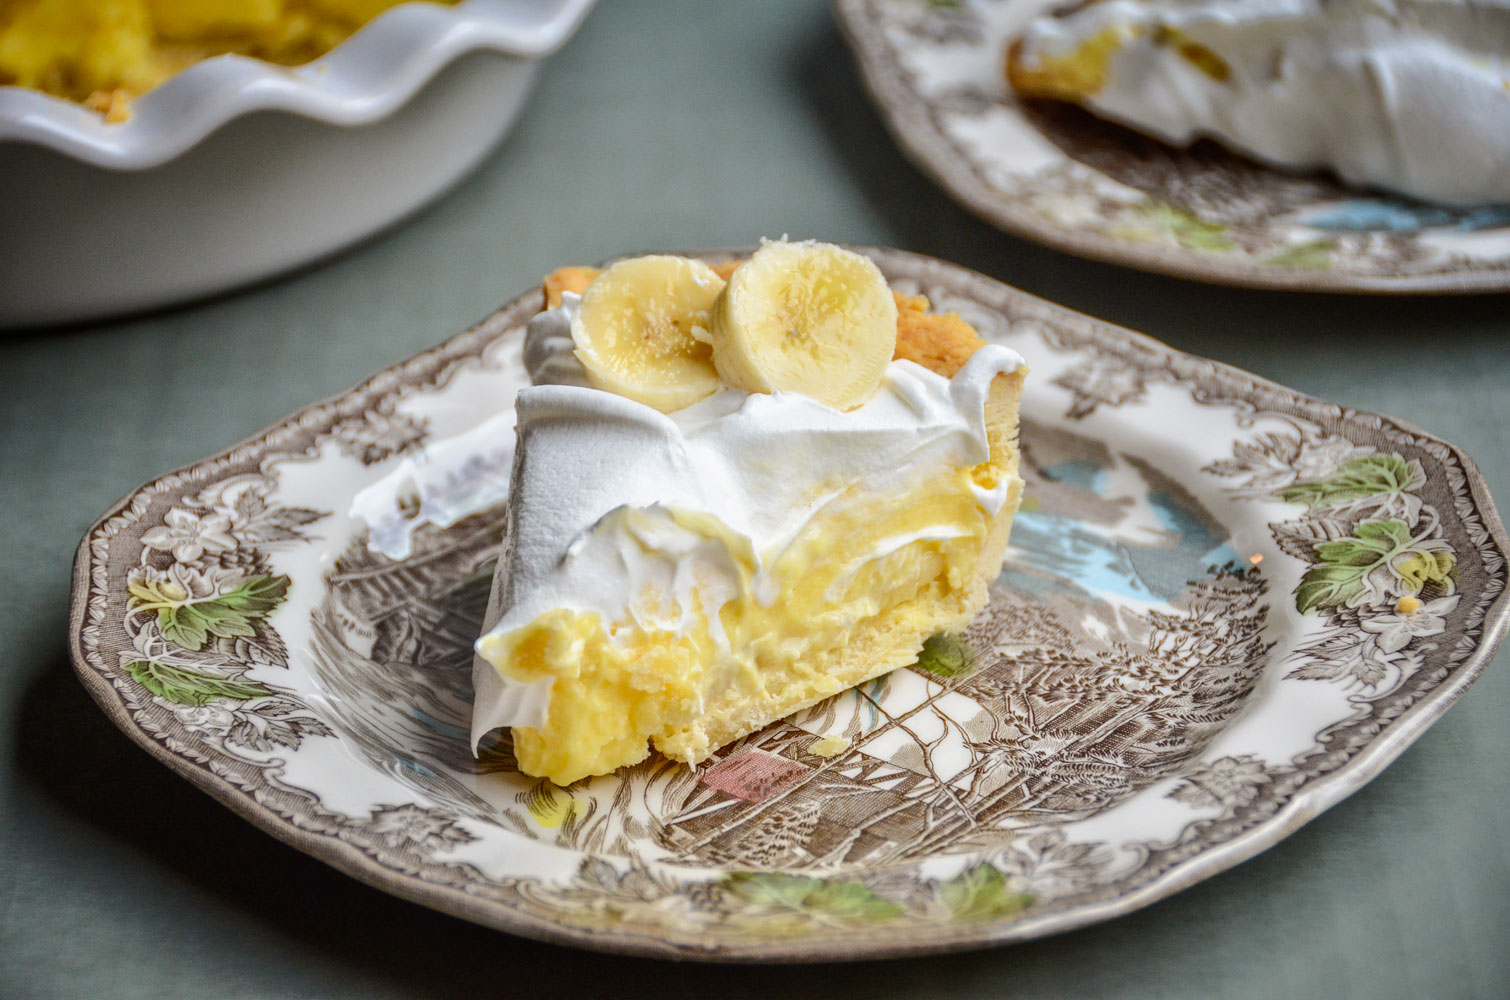
This crust is a perfect vessel for one of my family’s favorite pies, banana cream, which is served every Thanksgiving alongside more seasonal favorites. A forkful of this slouchy, creamy treat housed in a crumbly, buttery case makes all the work worth it, and that is a tradition I’m willing to keep observing.
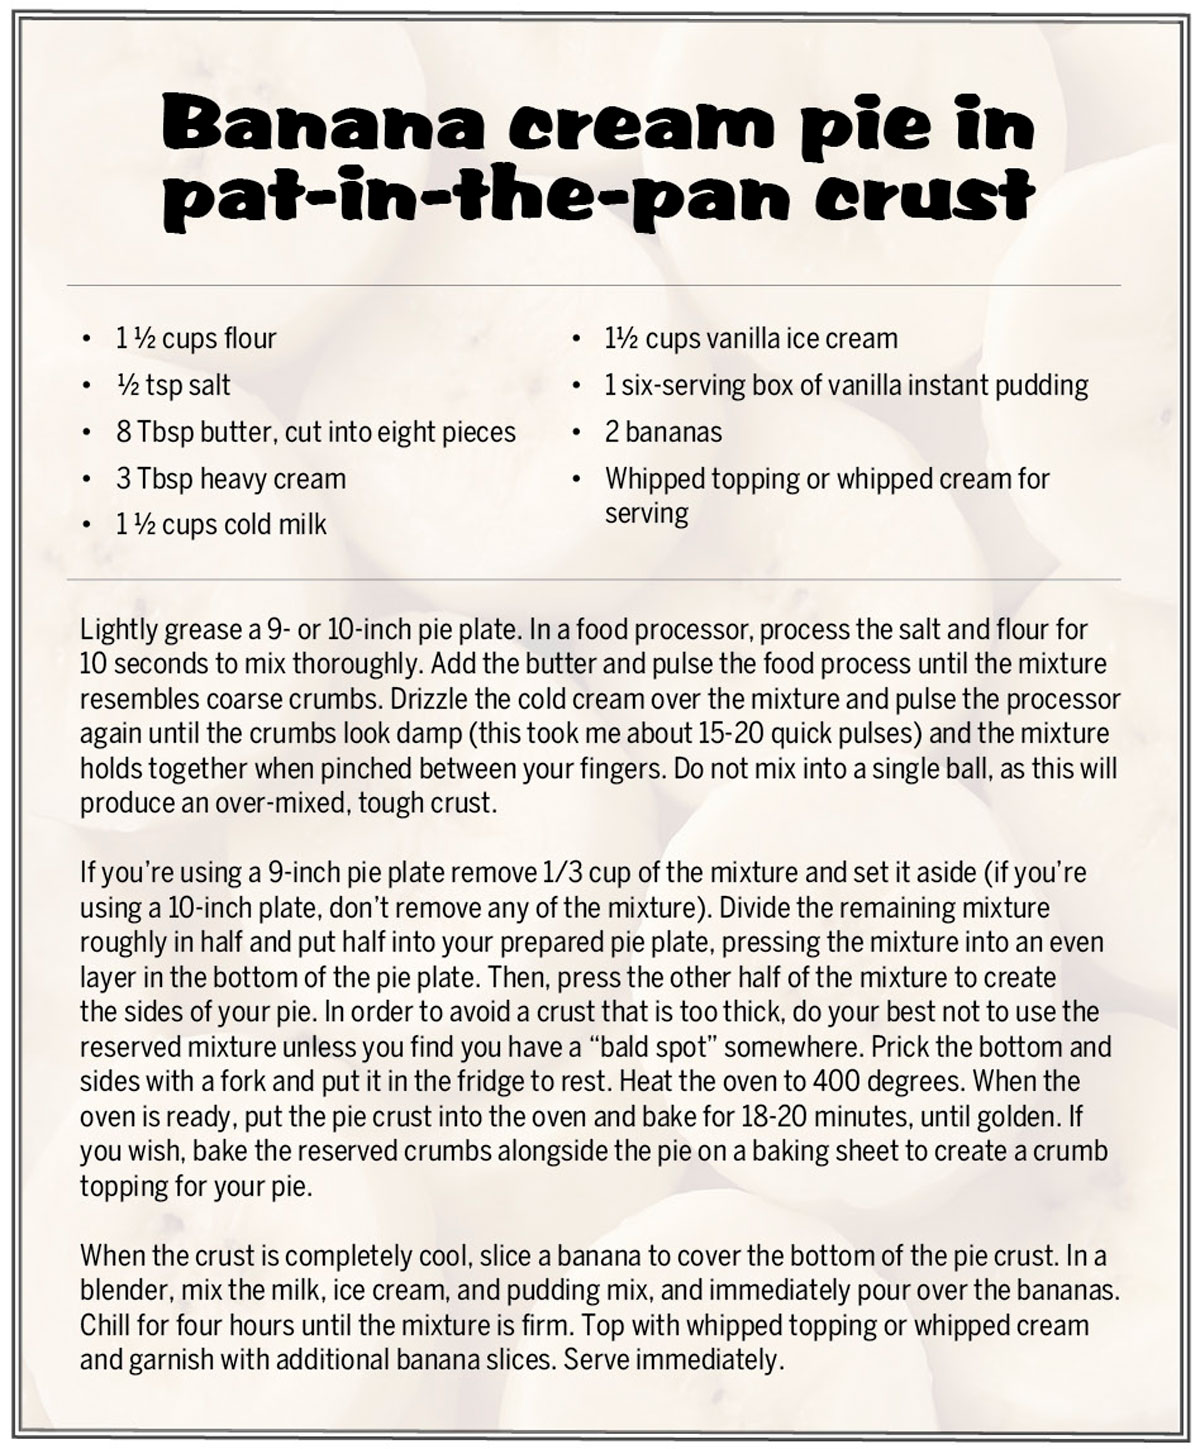
Banana cream pie in pat-in-the-pan crust
- 1 ½ cups flour
- ½ tsp salt
- 8 Tbsp butter, cut into eight pieces
- 3 Tbsp heavy cream
- 1 ½ cups cold milk
- 1½ cups vanilla ice cream
- 1 six-serving box of vanilla instant pudding
- 2 bananas
- Whipped topping or whipped cream for serving
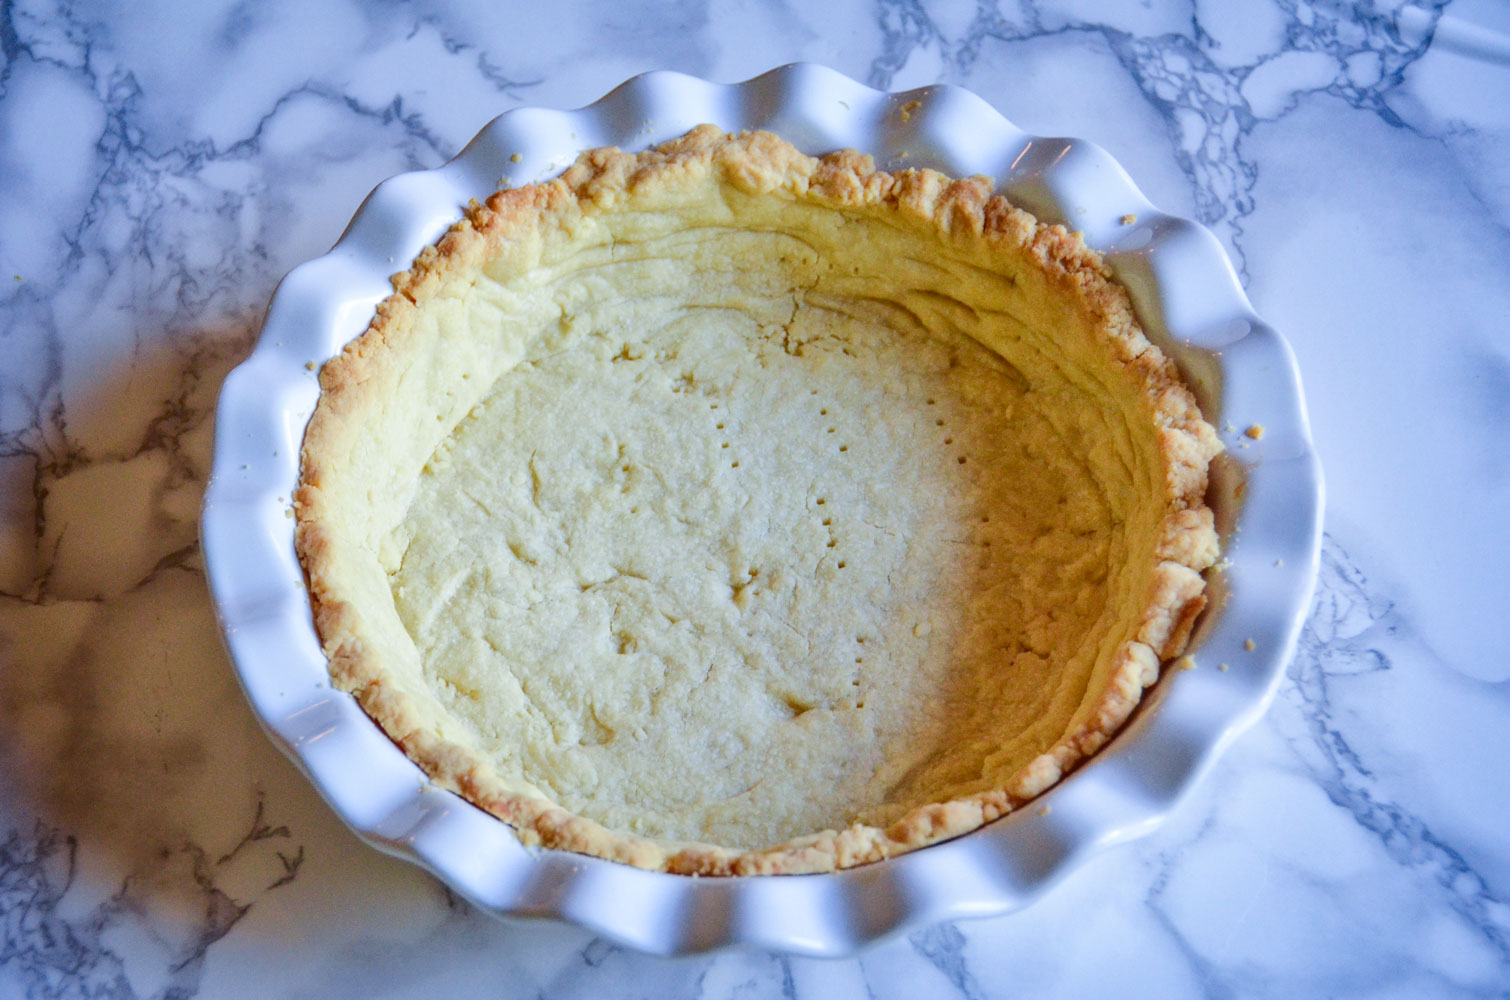
Lightly grease a 9- or 10-inch pie plate. In a food processor, process the salt and flour for 10 seconds to mix thoroughly. Add the butter and pulse the food process until the mixture resembles coarse crumbs. Drizzle the cold cream over the mixture and pulse the processor again until the crumbs look damp (this took me about 15-20 quick pulses) and the mixture holds together when pinched between your fingers. Do not mix into a single ball, as this will produce an over-mixed, tough crust.
If you’re using a 9-inch pie plate remove 1/3 cup of the mixture and set it aside (if you’re using a 10-inch plate, don’t remove any of the mixture). Divide the remaining mixture roughly in half and put half into your prepared pie plate, pressing the mixture into an even layer in the bottom of the pie plate. Then, press the other half of the mixture to create the sides of your pie. In order to avoid a crust that is too thick, do your best not to use the reserved mixture unless you find you have a “bald spot” somewhere. Prick the bottom and sides with a fork and put it in the fridge to rest. Heat the oven to 400 degrees. When the oven is ready, put the pie crust into the oven and bake for 18-20 minutes, until golden. If you wish, bake the reserved crumbs alongside the pie on a baking sheet to create a crumb topping for your pie.
When the crust is completely cool, slice a banana to cover the bottom of the pie crust. In a blender, mix the milk, ice cream, and pudding mix, and immediately pour over the bananas. Chill for four hours until the mixture is firm. Top with whipped topping or whipped cream and garnish with additional banana slices. Serve immediately.